Hex Move Planning: Find the Quiet Winning Line
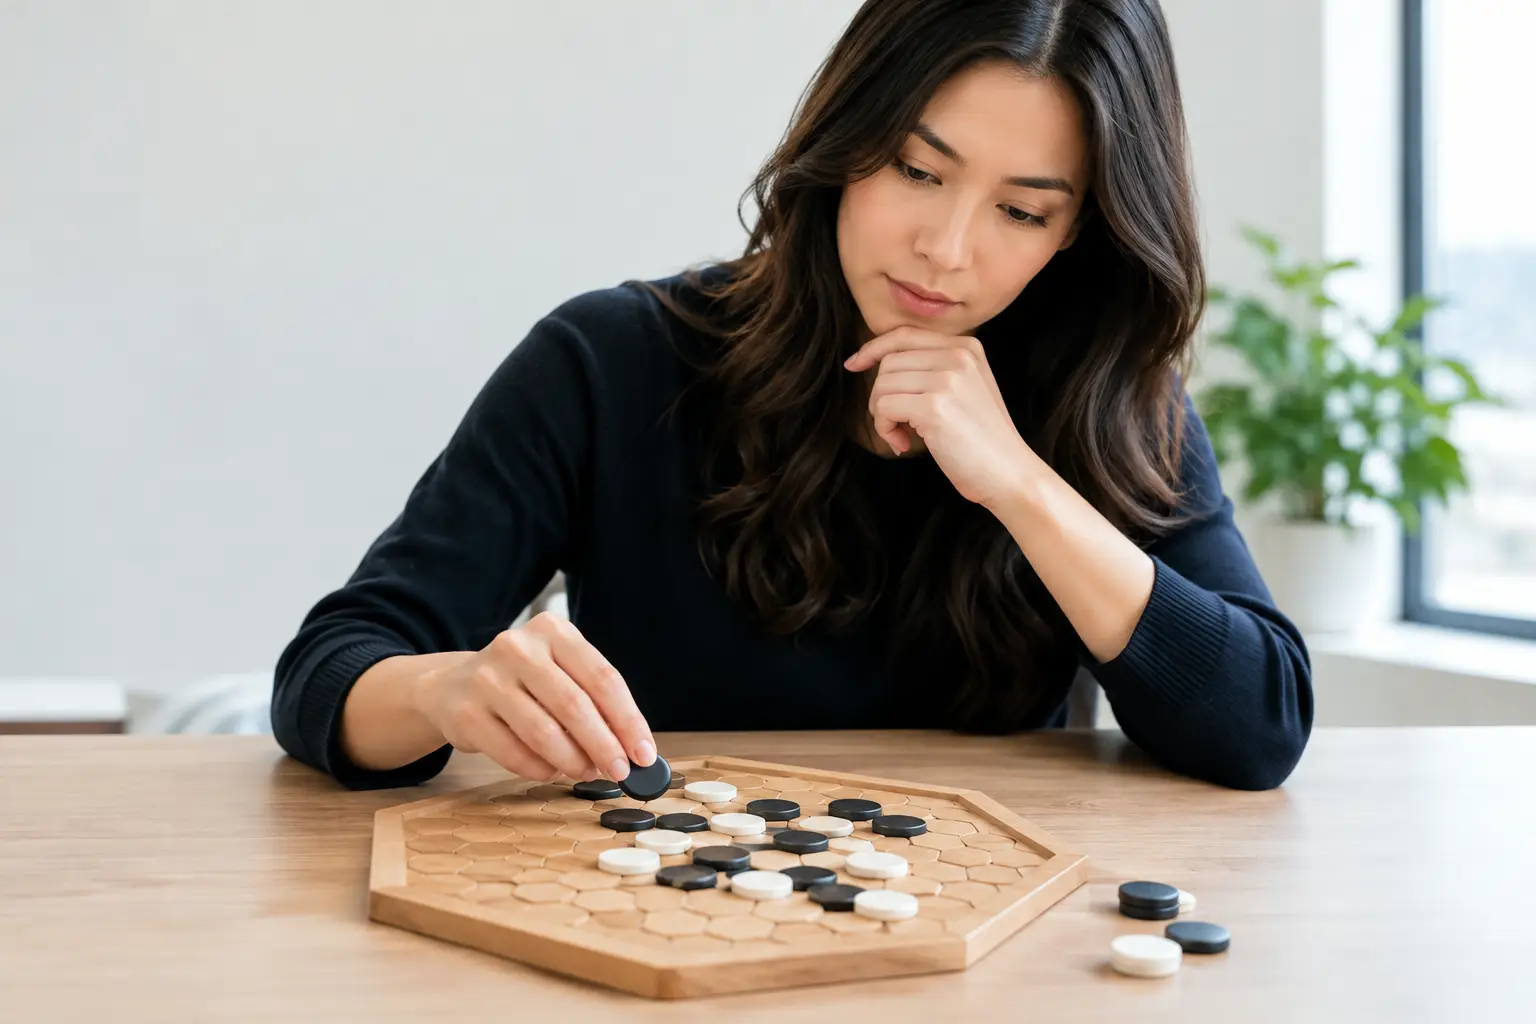
A good Hex move can look almost too small to matter: one stone set beside another, leaving a bright gap between them. A few turns later, that gap becomes a route your opponent cannot comfortably close. That is the pleasure of hex move planning. You are not merely filling spaces. You are arranging future connections, then asking the other player to choose which one to stop.
Hex is simple enough to explain in a breath. Each player tries to connect their two opposite sides of the board. Stones do not move once placed, and there can be no draw. Yet the board quickly becomes a quiet tangle of possibilities, where a move in one corner can change the value of a space much further away.
Start with a route, not a destination
New players often look at the far edge and begin marching towards it. The instinct makes sense, but a straight line is rarely a strong one. It gives your opponent an obvious place to interrupt, and each interruption can force you into an awkward detour.
Instead, picture a loose route between your two sides. It does not need to be a completed line. It is a collection of useful areas: a stone near one edge, a promising centre space, a possible landing point closer to the other side. Your job is to make these areas support one another.
The centre matters because it reaches in several directions. A central stone can help you turn left or right as the game develops, giving your plan room to breathe. But the centre is not automatically best. A move beside your own edge can be very efficient when it anchors a connection safely. The useful question is not, “What is the biggest move?” It is, “Which move leaves me with the most convincing next move?”
Hex move planning is about paired threats
The basic shape to recognise is the bridge. Place two stones with a small diagonal gap between them, and there are usually two spaces that can complete their connection. Your opponent may take one, but cannot take both in a single turn. You can respond by taking the other and join the stones.
This is why Hex has such satisfying tension. A connection does not always need to be physically complete before it is functionally secure. When you see a bridge, you are looking at a promise: if challenged in one place, it can be answered in another.
Do not treat every pair of nearby stones as a bridge. Check the geometry carefully. Ask which empty spaces join them, whether both are genuinely available, and whether an enemy stone already makes one reply less useful. The board rewards precise looking. One sharp corner or blocked approach can change a comfortable shape into a fragile one.
A practical habit is to pause after every opponent move and identify their paired threats before returning to your own plan. If they have made a connection that you cannot break with one stone, do not waste a turn trying to block it directly. Look instead for the next point where their route must emerge, or build a threat of your own that makes their turn difficult.
Keep connections wide enough to survive
A chain of stones pressed tightly together may feel safe, but it can become predictable. Wider shapes often give you more than one way forwards. They let you adapt when the opponent takes a key space, and they make it harder for them to tell which gap matters most.
There is a trade-off. Spread too far and your stones become isolated, asking for several moves to repair the distance. Stay too narrow and you create a neat target. The best shapes usually feel connected without being cramped: a few stones that can support each other through more than one nearby space.
Defend the place that matters next
Hex rewards urgency, but not panic. A defensive move is valuable when it prevents a real connection, not merely because it sits beside an opponent stone.
When deciding whether to defend, trace the opponent’s route towards their target edge. Where do they have a forced or nearly forced continuation? Which empty space would give them two answers to one question? That point is often more important than the most recent stone they placed.
Sometimes the right defence is an attack. If your opponent is close to joining two groups, placing a stone between them may be too late. But if you create a threat elsewhere that demands a reply, you may gain the turn needed to strengthen your own route. This is not aggressive play for its own sake. It is a way of keeping the board balanced when a direct block would achieve very little.
A useful test is to imagine the board after two turns: theirs, then yours. If their next move would make a connection you cannot answer, act now. If you still have a reliable reply, you may have time to improve your own shape first.
Use the edges as part of your structure
Your chosen sides are not distant finish lines. They are already connected territory. A stone placed beside your own edge can act as a stable anchor, needing less work than a stone floating in open space. This makes edge moves efficient, especially at the beginning and end of a route.
The opposite is true near the opponent’s sides. A stone there may look threatening, but it can be easy to cut off if it arrives without support. Do not rush a lone piece towards the finish. Bring a connection with it.
It also helps to notice which edge is easier to approach from your current shape. A route that bends naturally towards one side is usually better than one that requires several corrective moves. Hex boards reward flow. Let your stones follow the direction they already suggest.
A calm way to read a crowded board
Once the board fills, trying to calculate every variation can make a small puzzle feel noisy. Reduce the view. Mark, mentally or with a finger, the groups that are already secure. Then find the open gaps between those groups. Most empty cells are not equally important.
Look for three things: places that join two of your groups, places that prevent two enemy groups joining, and places that create two useful replies for you. If a move does none of these, it may still be pleasant-looking, but it is unlikely to carry the position.
This is also the moment to avoid repairing every tiny weakness. Some gaps are harmless because the opponent cannot use them without neglecting a larger problem. Others are urgent because they sit at the meeting point of several routes. Good planning is partly the art of leaving the unimportant gaps alone.
Plan one move beyond the obvious
You do not need to solve the whole game from the opening. A clear two- or three-move intention is enough. Choose a stone that improves a group, then know how you will respond if the opponent blocks its most natural continuation. If they take one side of your bridge, take the other. If they ignore it, extend towards the next useful area.
As you play more, these small plans begin to overlap. One stone helps an edge connection, supports a central bridge, and makes an opponent’s route less comfortable. Those are the moves worth waiting for: compact choices that do several quiet jobs at once.
A thoughtful game of Hex does not always end with a dramatic final move. Often the winning route has been present for a while, hidden in a few well-spaced stones and a pair of gaps the opponent could never close together. Let the board settle, look for the shape that is already forming, and give it the next satisfying piece.